In the Part 1 article , I had written in detail about creating wifi enabled temperature and humidity logger using ESP8266 and NodeMCU. In this article (which is the Part 2), I will discuss about the storing and accessing data generated by the device which we created in Part 1. If you recollect, the hardware which we created only used two components ESP8266 and DHT11, and was incredibly cheap. It had its limitations, mainly lack of memory and lack of RTC (real time clock). With some more effort we could have tried interfacing memory and a RTC, but that would have made our design complicated and expensive. Instead what we can do is try and log infromation to a server in near realtime. Though this has its own limitations, but it is the most simple and least expensive solution we have.
Why CouchDB
Relational databases require a fixed schema. In a system like ours, it poses a challenge when we want to log additional data attributes or omit any. Second issue with relation databases is, you anyways have to write an application layer to access them. This can be very time consuming. Most systems that use relational databases , have a thin service layer (WCF, REST) which sits on top of it. Suitability of technology used in application layer for interacting with IoT device is also important.For example, it will be very hard to access a WCF service from a ESP8266 running NodeMCU. A RESTful API on the other hand is better suited.
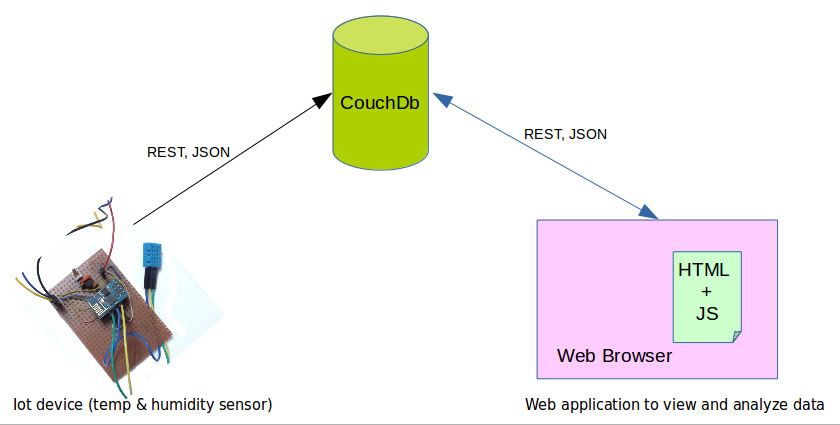
Recently I have been reading quite a bit about CouchDB. I have written about CouchDB in the past. One of the most impressive features CouchDB has is native support for RESTful API. In fact, it is the only way to interact with the database. CouchDB acts like a data store and application server at the same time. In a single instance of CouchDB you can store your data as well as your client side code (html,js,css,images). Your javascript code can query your data using RESTful API exposed by CouchDB. All this is not achived by some hack, but it is a very well thought out and supported feature of CouchDB. Besides, CouchDB also has many features which are commonly found in NoSQL databases.
CouchDB is open source and new features are been added very actively to it. Installation of CouchDB for any operating system is super easy and has been detailed in my earlier article.
Configuring CouchDB for our IoT device
Before we begin, I assume have been successfully able to install it and have gone through my article on CouchDB. The first thing we need to do is to enable remote access to our CouchDB instance. This can be done by changing following lines from file /etc/couchdb/default.ini
[httpd] |
to
[httpd] |
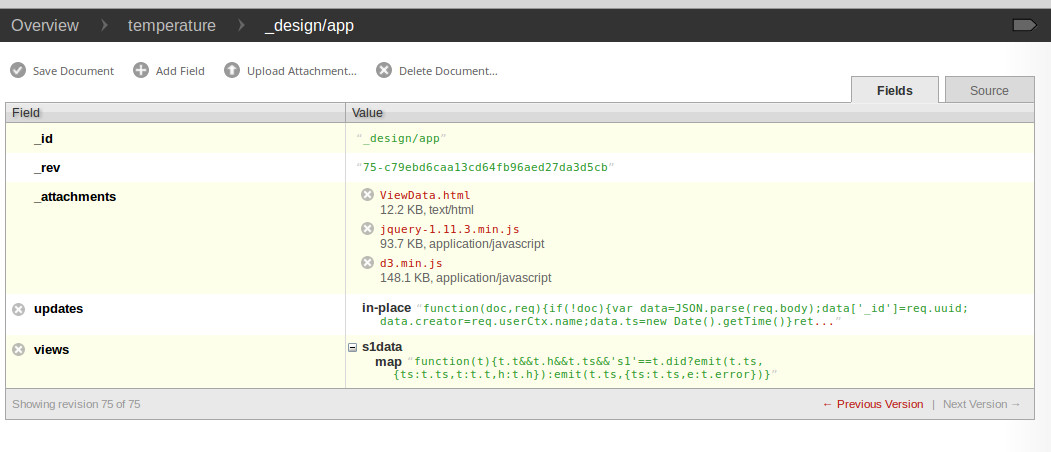
Once we do that we have to create a new database for our IoT device. I will call it ‘temperature’ (not the best of the name !). Once that is done the most important thing is to create the design document.
Inside the design document (_design/app) we create a ‘document update handler’, called ‘inplace’. This handler appends a timestamp and unique id field (_id) to our document(data) before saving it to CouchDB. This is required, because we do not have a real time clock in our hardware or any means to generate unique ids reliably. Also note that this handler adds a ‘creator’ field which will allow us to know ‘who created the document’. Rest all fields are simply copied over from the incomeing document.
function(doc, req) { |
The above handler takes care of updating data. Now we create a view called ‘s1data’ which when queried returns all the data stored for ‘s1’, the unique id of our device. Given below are JSON samples which are sent to CouchDB by our device in different scenarios:
When we have temperature and humidity reading is:
{"t":22,"h":80,did:'s1'}
In case of checksum error :
{"error" :"CHECKSUM","did":"s1"}
For timeout:
{"error" :"TIMEOUT","did":"s1"}
Given below is the code for our view
function(t) { |
Given below is the full design document for CouchDB instance which I used for my testing. You should be able to replicate it simply by copy pasting code following it via Futon. Please note that I removed the attachment portion from below code. As mentioned eariler it , use Futon to create it and upload files provided by me.
{ |
In a real world scenario, there could be hundreds of such devices feeding data to our CouchDB instance. Also note that the view returns a very light-weight JSON compared to what is actually stored inside CouchDB. We will create a web page to consume this JSON data and display a auto-refreshing chart.
Creating web page for viewing temperature and humidity
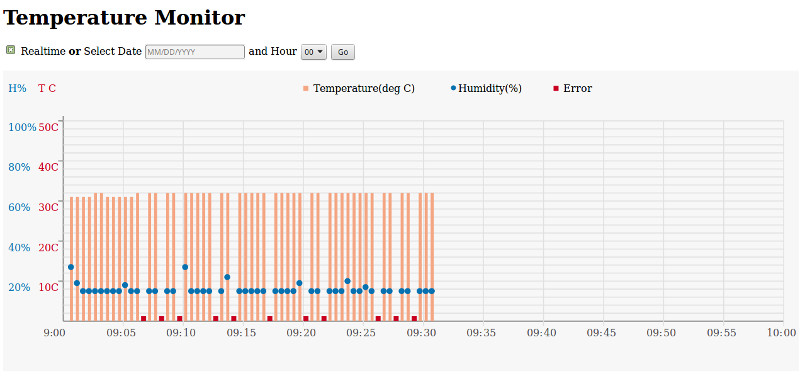
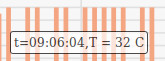
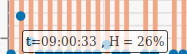
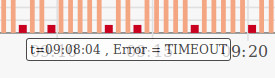
I have used jQuery and d3.js to create a interactive web page, that displays temperature and humidity readings in realtime or on a specific date. Temperature is shown using a bar, humidity using a circle and error using a square. Hovering over any element will show a small tooltip with details. Explaining the entire code is out of the scope of this article, but you can download the html page and required javascript files from here. Since there are only three files, you can easily manually upload them to CouchDB using Futon.
Finally
With this we conclude the second part of my IoT tutorial. Hope you have enjoyed reading this. Please feel free to comment and ask questions. Thanks for reading !


