The Raspberry Pi Pico never ceases to amaze! I love pushing CircuitPython to its limits. In this article, we dive into using CircuitPython, Fast Fourier Transform (FFT), and a budget-friendly microphone breakout board to recognize flute notes and write them on an OLED screen.
Video of the project in action.
For full source code please visit : https://github.com/code2k13/pipico_flute_notes
What You’ll Need
- A microcontroller that supports CircuitPython (e.g., Raspberry Pi Pico)
- An electret microphone breakout board
- An SSD1306 OLED display
- Push button
- Jumper wires
How It Works
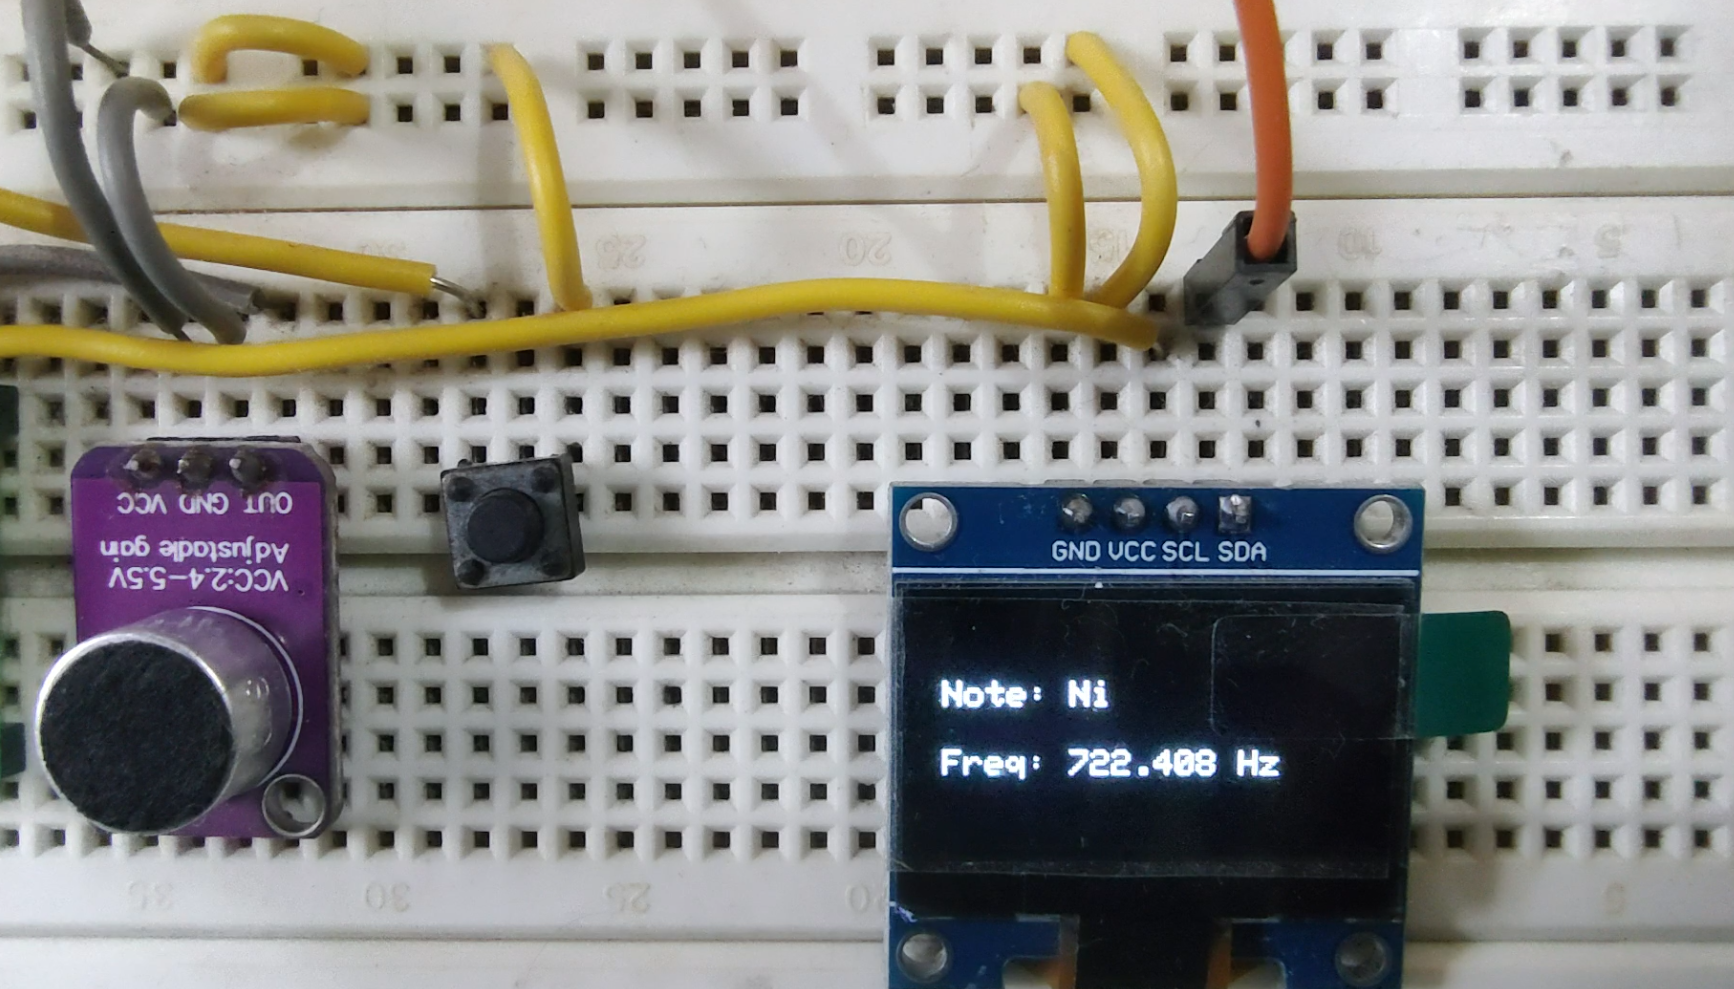
This project captures sound from a microphone, processes it using FFT to extract the dominant frequency, and maps the frequency to a musical note. The identified note is displayed on an OLED screen.
Setting Up the Hardware
- Connect the microphone’s analog output to an analog input pin on the microcontroller (e.g.,
A1). - Connect the OLED display to the I2C pins (
GP18for SDA,GP19for SCL). - Connect a push button to
GP21, using a pull-down resistor configuration.
Writing the Code
Initializing Components
The script initializes the OLED display, the microphone, and the push button:
import board |
Defining the Frequency Table
To identify notes, we define a lookup table with approximate frequency values:
frequency_table = [ |
Processing the Microphone Input
The function get_condensed_fft() collects audio samples and applies FFT to extract the dominant frequency:
def get_condensed_fft(): |
Finding the Dominant Frequency
We locate the peak frequency in the FFT result:
def get_highest_frequency(fft_data, sampling_rate=7182): |
Matching the Frequency to a Note
This function checks which note the detected frequency corresponds to:
def find_symbol_for_frequency(highest_frequency, tolerance=0.05): |
Displaying the Identified Note
Once a button press is detected, the system captures and processes the audio, then displays the detected note and frequency:
while True: |
Final Thoughts
With just a microcontroller, a basic microphone, and CircuitPython, you can analyze flute notes in real-time! This project not only introduces you to digital signal processing but also provides a practical tool for musicians. You can extend this by improving accuracy, adding more musical notes, or even visualizing sound waves on the OLED.


