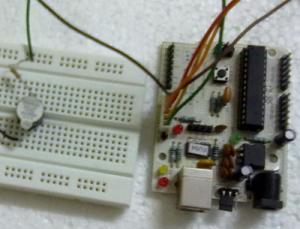
In this tutorial, I will discuss how make Arduino play your favorite melody. There is a nice tutorial which illustrate the basic process here. But to play your favourite melody you will have to get the combination of notes, durations of individual notes and pauses as precise as possible. In this tutorial, I will discuss how to develop a sketch for Arduino to play custom melodies and way to test the sketch on your PC before writing it to Arduino board. Things you will need:
- Piano notes for your melody.
- This example as the starting point for the sketch.
- PC program to test your note sequence. (read on ..!)
Finding notes for your melody/tune
If you can play it on piano, you can easily write them down on paper. If not, then you can search for notes on the web. For this example, I would be using very simple melody containing following notes:
cdf dfg fga gab abc# |
Writing your sketch
I would advise using the same sketch as mentioned here: http://arduino.cc/en/Tutorial/Tone. However, we are not going to directly modify this sketch. Notice the array ‘melody’ and ‘noteDurations’ in the C code. What we need to do, is find correct elements and their sequence for these two arrays. This is not an easy task and at some point you will always feel the need of a simulator where you could test your compilation. This is where we create a PC program to test note sequence.
Creating PC program to test note compilation
I am using C# to write a simple program (similar to one in example) to test my notes compilation. This program uses PC speakers to generate sound and gives a fair idea of what the notes will sound with Arduino. Also, it is very easy to modify and fine tune your compilation using the C# program. This is how the array values looks like in the C# program for the melody I selected:
//Play the following notes |
You can download the full C# code here. Now once, you have perfected your compilation, you can simply copy the array variables along with their values back into your Arduino sketch and just compile it. Given below are snippet of C code after pasting the array values in the Arduino IDE:
|
Also don’t forget to change the constant representing array length to correct value in this line of your sketch :
for (int thisNote = 0; thisNote < 30; thisNote++) { |
Download the full sketch here.
Play the video (below) to listen to the PC and Arduino playing the same melody:
Finally
I hope this tutorial will help you play your favorite melody with Arduino. The approach which I described in this article should work almost all types of microcontrollers. If you know better tools to do this, please drop a me a comment. Suggestions and criticism are always welcomed (as I am very new to Arduino).


